Accounts
This guide covers how to manage your accounts (organizations or projects) in the Group Mini application.
Overview
Accounts represent organizations or projects within your workspace. You can create multiple accounts and switch between them.
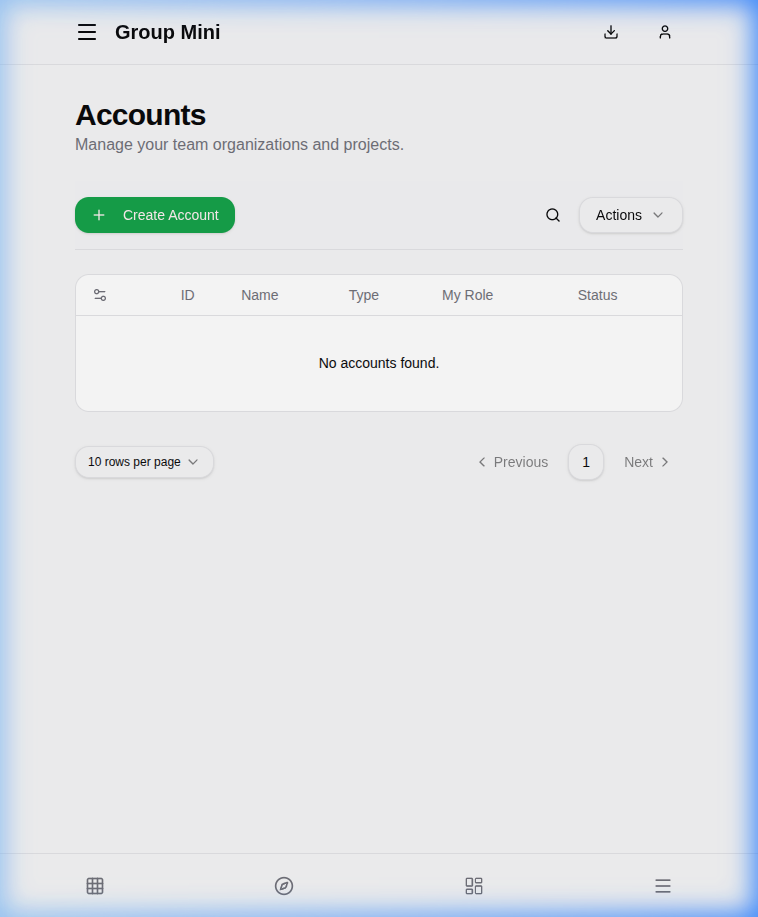
Creating an Account
To create a new account:
- Navigate to the "Accounts" section.
- Click the "Create Account" button.
- Enter the name of the account in the dialog.
- Click "Create".
You will be assigned as the owner of the newly created account.
Managing Accounts
The accounts table lists all accounts you have access to:
- ID: Unique identifier (shows last 4 characters).
- Name: Name of the account.
- Type: Type of account (if applicable).
- My Role: Your role in the account (e.g., Owner, Member).
- Status: Current status of the account (e.g., Active).
Actions
From the "Actions" menu or by selecting a row, you can:
- Set as Active: Set the selected account as your active account. This affects which data you see in the dashboard.
- Edit: Edit account details.
- Delete: Delete the selected account(s).